



A palm sander, also known as a finish sander or quarter-sheet sander, is a handy power tool used for sanding and smoothing various surfaces.One of the essential skills every DIY enthusiast or woodworker should know is how to properly put sandpaper on a palm sander.In this step-by-step guide, we will walk you through the process of replacing sandpaper on your palm sander efficiently and effectively.
Step 1:Gather Your Materials
Before starting, gather all the materials you’ll need for the process.You’ll need a new sheet of sandpaper, specifically designed for your palm sander model, and the palm sander itself.Ensure the sander is unplugged or the battery is removed for safety.
Step 2:Remove the Old Sandpaper
If there is old sandpaper on the palm sander, you’ll need to remove it first.Most palm sanders have a clamping mechanism that holds the sandpaper in place.Look for the clamps or levers on the sides of the sander.Release or loosen them to free the old sandpaper from the sander’s base.
Step 3:Prepare the New Sandpaper
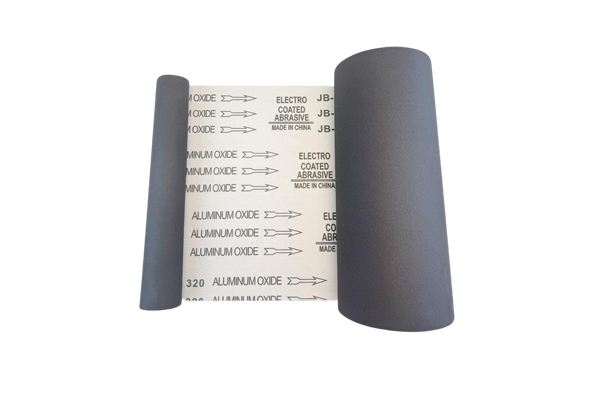
Lay the new sheet of sandpaper on a flat surface with the grit side facing up.Position the palm sander’s base on the sandpaper, aligning it with the edges.Make sure the sandpaper extends slightly beyond the edges of the sander’s base for a secure fit during sanding.
Step 4:Cut the Sandpaper to Size
Using a pair of scissors or a utility knife, carefully cut the sandpaper along the edges of the sander’s base.Be precise in cutting to ensure the sandpaper fits perfectly without overlapping or hanging over the edges.
Step 5:Attach the New Sandpaper
With the new sandpaper cut to size, place it on the palm sander’s base, ensuring the holes for dust collection(if any)align with the holes on the sander’s base.Press down firmly to secure the sandpaper in place.
Step 6:Clamp the Sandpaper
Now, it’s time to secure the new sandpaper onto the palm sander.Locate the clamps or levers on the sides of the sander and tighten them to hold the sandpaper firmly in place.Double-check that the sandpaper is taut and properly aligned with the sander’s base.
Step 7:Check the Fit
Before using the palm sander, give it a quick inspection to ensure the sandpaper is properly attached and centered.Make any adjustments if necessary to ensure the sandpaper is securely in place.
Learning how to put sandpaper on a palm sander is a simple yet essential skill for any woodworking or DIY project.With the right tools and proper technique, replacing sandpaper on your palm sander becomes a quick and easy task.By following this step-by-step guide, you can keep your palm sander running smoothly and enjoy efficient sanding for a wide range of projects.Remember to always use the appropriate grit sandpaper for the job and follow safety precautions while using power tools.Happy sanding!






 +86 18503711019
 Call
Call