



Refinishing wood furniture or flooring often requires stripping away old, worn-out varnish to prepare the surface for a fresh coat. While chemical strippers and heat guns can help, sandpaper remains one of the most effective and controlled methods for varnish removal. However, choosing the right grit is critical—too coarse, and you risk damaging the wood; too fine, and the process becomes inefficient. This guide will walk you through the best sandpaper grits for varnish removal, ensuring a smooth, professional result.
Understanding Sandpaper Grits
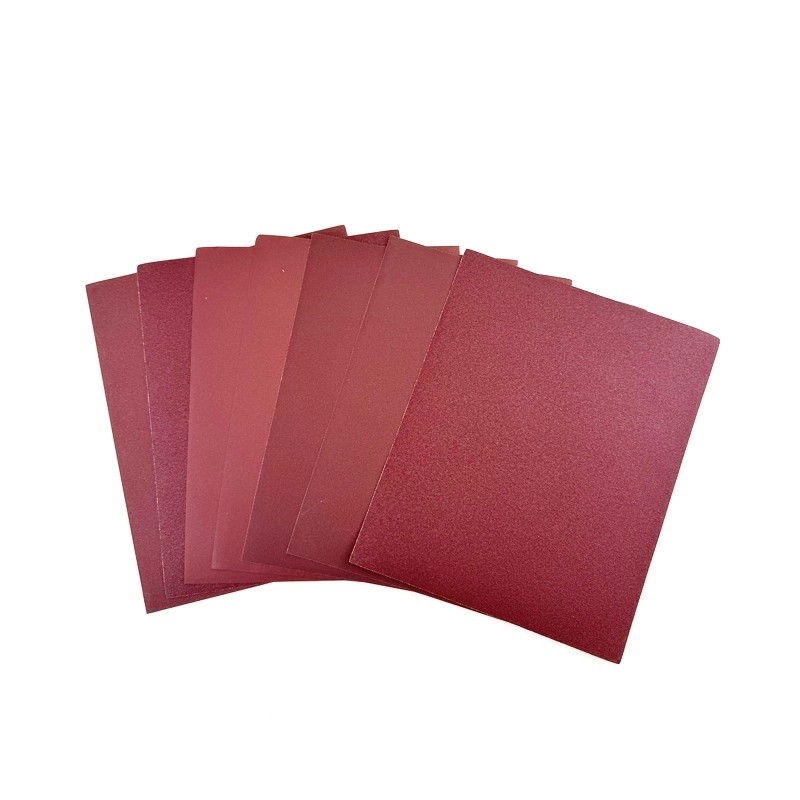
Sandpaper grit refers to the size of the abrasive particles bonded to the paper. The grit number indicates how coarse or fine the sandpaper is:
Coarse grits (40-80): Aggressive abrasion, ideal for heavy material removal.
Medium grits (100-150): Balanced for smoothing and preparing surfaces.
Fine grits (180+): Used for final polishing and ultra-smooth finishes.
For varnish removal, you’ll typically work within the coarse to medium range, gradually refining the surface.
Step 1: Start with a Coarse Grit (60-80) for Initial Stripping
The first step is breaking through the varnish layer. Since most wood finishes are durable, a coarse grit (60-80) is best for this stage. This grit efficiently removes the bulk of the varnish without requiring excessive force.
Technique: Use a sanding block or orbital sander for even pressure.
Direction: Always sand with the wood grain to avoid scratches.
Caution: Avoid pressing too hard—let the abrasive do the work to prevent gouging.
If the varnish is exceptionally thick or multiple layers have built up over time, you may need to begin with an extra-coarse grit (40-50). However, these grits can leave deep scratches, so use them sparingly and only when necessary.
Step 2: Switch to a Medium Grit (100-120) for Smoothing
Once the majority of the varnish is gone, the wood surface may still feel rough or show sanding marks from the coarse grit. Switching to a 100-120 grit refines the surface, removing leftover varnish residue and preparing the wood for staining or sealing.
Purpose: Eliminates scratches from the initial sanding.
Tip: If the wood feels uneven, hand-sanding with a 120-grit sponge can help reach contours and edges.
Step 3: Finish with a Fine Grit (150-180) for Final Prep (Optional)
If you plan to apply a new finish (such as stain, oil, or fresh varnish), a final pass with 150-180 grit ensures an ultra-smooth base. This step is especially important for open-grain woods like oak or mahogany, where a smooth surface enhances the final appearance.
When to skip this step: If you’re painting the wood, 120-grit is usually sufficient.
Tips for Effective Varnish Removal
Work in Stages – Don’t jump straight to fine grits; progress gradually for the best results.
Check for Residue – Wipe the wood with a damp cloth between sanding stages to reveal any remaining varnish.
Use a Sanding Block – Prevents uneven pressure and reduces fatigue.
Consider Power Tools – An orbital sander speeds up the process, but be cautious with belt sanders, as they can remove too much material.
Wear Protection – Varnish dust can be harmful—use a mask and work in a well-ventilated area.
Removing varnish with sandpaper is a straightforward process when using the right grit sequence. Start with 60-80 grit for stripping, move to 100-120 grit for smoothing, and finish with 150-180 grit (if needed) for a polished surface. Always sand in the direction of the grain and avoid rushing the process to prevent damage. With these techniques, you’ll achieve a perfectly prepped wood surface ready for refinishing.
By following this method, you can confidently restore wooden furniture, floors, or cabinetry to like-new condition—ensuring a durable and beautiful finish.
Kamel Abrasives WhatsApp: +86 185 0371 1019 / +86 156 3977 2803 Email:sales@kamel.com.cn



 +86 18503711019
 Call
Call