


Spackle, also known as joint compound or drywall mud, is a versatile material used for filling gaps, cracks, and holes in drywall surfaces. When applying spackle, achieving a smooth and seamless finish is essential for a professional-looking result. Sanding plays a crucial role in refining and smoothing spackle to blend it seamlessly with the surrounding wall surface.
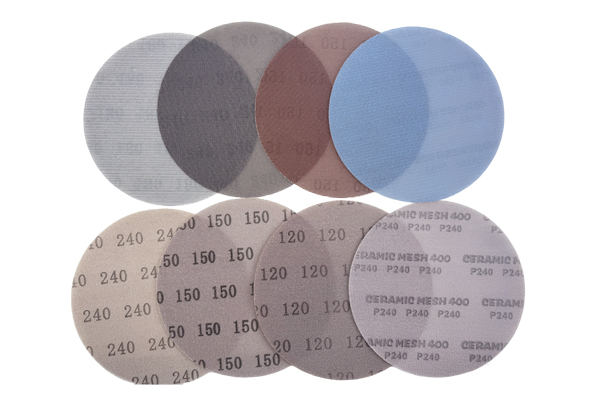
Understanding Sandpaper Grit:Sandpaper is categorized by its grit, which refers to the size of the abrasive particles embedded in the paper. The grit number indicates the coarseness or fineness of the sandpaper, with lower numbers representing coarser grits and higher numbers indicating finer grits.Coarse Grits (40-80):Coarse grit sandpapers, typically ranging from 40 to 80 grit, feature large abrasive particles suited for heavy material removal and shaping tasks. When sanding spackle, coarse grit sandpaper is ideal for initially smoothing out excess compound and leveling the surface. It effectively removes high spots, bumps, and ridges, preparing the spackled area for further refinement.Medium Grits (100-150):Medium grit sandpapers, falling within the range of 100 to 150 grit, strike a balance between material removal and surface smoothing. They are suitable for refining surfaces after using coarse grits, eliminating scratches, and blending the spackle with the surrounding wall texture. Medium grit sandpaper is commonly used for feathering edges and achieving a smooth transition between the spackled area and the rest of the wall surface.Fine Grits (180-240):Fine grit sandpapers, typically ranging from 180 to 240 grit, are designed for smoothing and polishing surfaces. In the context of sanding spackle, fine grit sandpaper is used to further refine the surface and remove any remaining imperfections or roughness. It prepares the spackled area for priming and painting by creating a smooth and uniform surface texture.Extra Fine Grits (320-600+):Extra fine grit sandpapers, including those above 320 grit, are reserved for polishing and finishing tasks. They are used to achieve a high level of smoothness, remove very fine scratches, and create a flawless finish on the spackled area. Extra fine grit sandpaper ensures that the repaired section blends seamlessly with the rest of the wall, resulting in a professional-looking finish ready for painting or wallpapering.Choosing the Right Grit for Sanding Spackle:The choice of sandpaper grit depends on various factors, including the type of spackle used, the texture of the surrounding wall, and the desired outcome of the drywall repair. Here’s a step-by-step guide to help you select the appropriate grit for sanding spackle:1. Assess the Spackled Area: Begin by inspecting the spackled area to identify any imperfections, bumps, or ridges that need to be addressed. Determine the texture of the surrounding wall and the level of smoothness required for blending the spackle seamlessly.2. Choose the Initial Grit: If the spackled area has noticeable bumps or ridges, start sanding with a coarse grit sandpaper (40-80 grit) to level the surface and remove excess compound. Focus on smoothing out any high spots and creating a flat and even surface.3. Progress to Medium Grit: Once the surface is relatively smooth, switch to a medium grit sandpaper (100-150 grit) to refine the texture and feather the edges of the spackled area. Sand in circular or overlapping motions to blend the spackle with the surrounding wall texture and create a seamless transition.4. Use Fine Grit for Final Smoothing: After sanding with medium grit sandpaper, switch to a fine grit sandpaper (180-240 grit) to further refine the surface and remove any remaining roughness or imperfections. Sand lightly and evenly to achieve a smooth and uniform surface texture.5. Finish with Extra Fine Grit: For optimal results, finish sanding with an extra fine grit sandpaper (320-600+ grit) to polish the spackled area and ensure a flawless finish. Sand gently and evenly to create a seamless blend between the repaired section and the rest of the wall surface.6. Check for Smoothness: Once sanding is complete, run your hand over the spackled area to check for smoothness and uniformity. Inspect the surface from different angles to ensure that it blends seamlessly with the surrounding wall texture.7. Clean and Prepare for Finishing: After sanding, remove any dust or debris from the spackled area using a vacuum cleaner or tack cloth. Wipe the surface with a damp cloth to remove any remaining residue and allow it to dry completely before priming and painting.



 +86 18503711019
 Call
Call